
Publish videos to your course with Kaltura Mediaspace
If you are like many online instructors, you have created videos for your course to improve student comprehension and to enhance your presence as an instructor. Perhaps these are weekly introductions, short topic lectures or feedback on student work. Where do you publish and keep these videos? YouTube? Google Drive? In this tip, we will touch on a new option recently deployed at UAF: Kaltura Mediaspace.
Mediaspace gives an instructor a lot of control over how a video is presented and how students interact with it. Mediaspace is a customizable media platform featuring per-user analytics, video quizzes and Blackboard integration, among other functions.
To get started with Mediaspace, visit media.uaf.edu or the Media Gallery from inside your Blackboard course. You can access your full library of videos from both locations.
To add videos, click on the “Add New'” drop down menu from either location. There are four options:
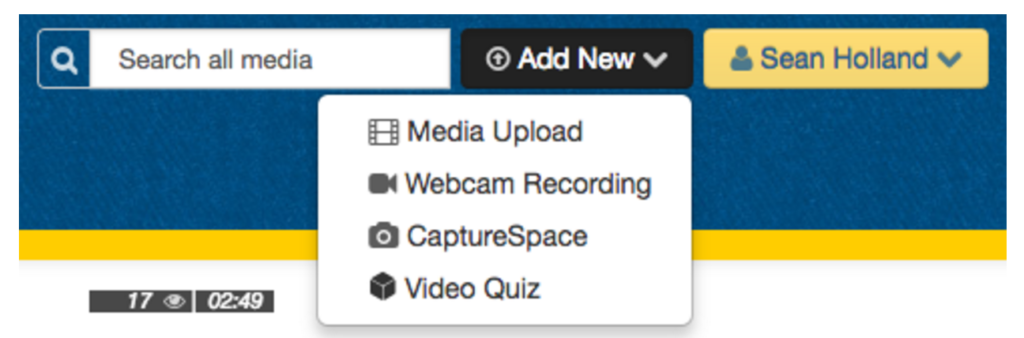
Select “Media Upload” to add a video from your computer that you’ve already produced.
“Webcam Recording” will let you record directly into Mediaspace from your webcam, leaving no files locally on your computer. It’s nice to have a feature like this in Blackboard again, since YouTube deprecated it in January 2016. This is especially useful and convenient for students sharing to discussion boards or course blogs through video. We will dig deeper into student video creation in a future Teaching Tip.
Personal Capture and video quizzes are powerful tools that will be discussed in a future Teaching Tip as well.
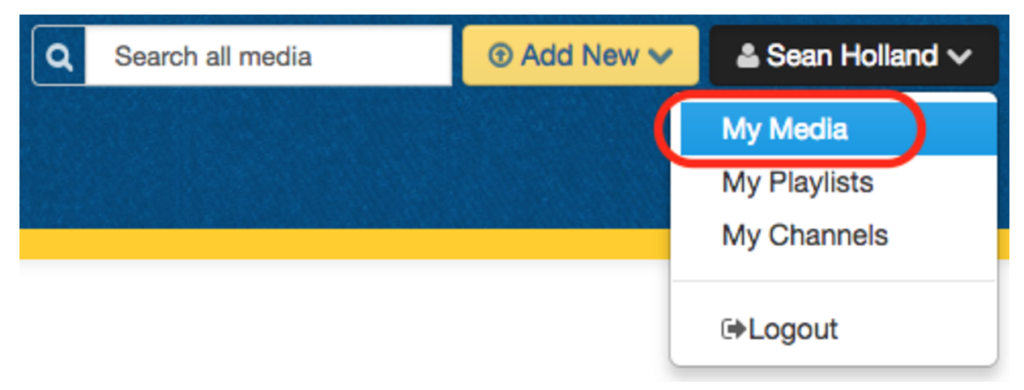
During the uploading or recording process, Kaltura allows you to edit the video name and description, add tags and choose privacy options. The description area features a rich text editor, allowing you to add bold text, hyperlinks and images. When using the media upload function, you can upload multiple files at once and edit the information for each on a single upload page. After clicking the “Save” button, you can find the file inside of “My Media” in the top right dropdown menu.
There are a few options to publish the media to your course. If you like, you can grab a direct link or a full embed code by clicking on the “Share” button. But a more convenient option is to include the video from inside a course by adding it to the Media Gallery. You can access your media and add it directly to content items by using the “Kaltura Media” tool within the rich text editor.
This is only the tip of the iceberg. Future tips will look at editing, collaboration and publishing options as well as student-created video and student viewing analytics.

[…] Blackboard Kaltura for video […]
[…] available to UAF instructors. From PlayPosit, users can add videos that they own or can edit from Kaltura Mediaspace. PlayPosit integrates with Blackboard and Canvas grade books. It is currently enabled for all UAF […]
[…] uploaded directly into Blackboard (not embedded from another site) — get it out of there. Move it to the UAF media server! Blackboard doesn’t “stream†video like YouTube or Kaltura; so, depending on internet […]